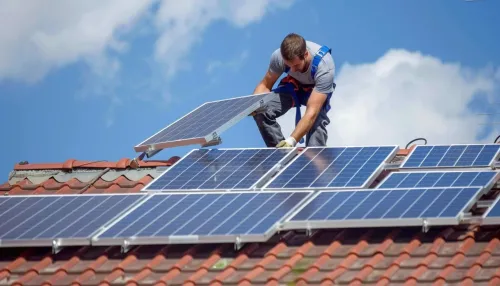
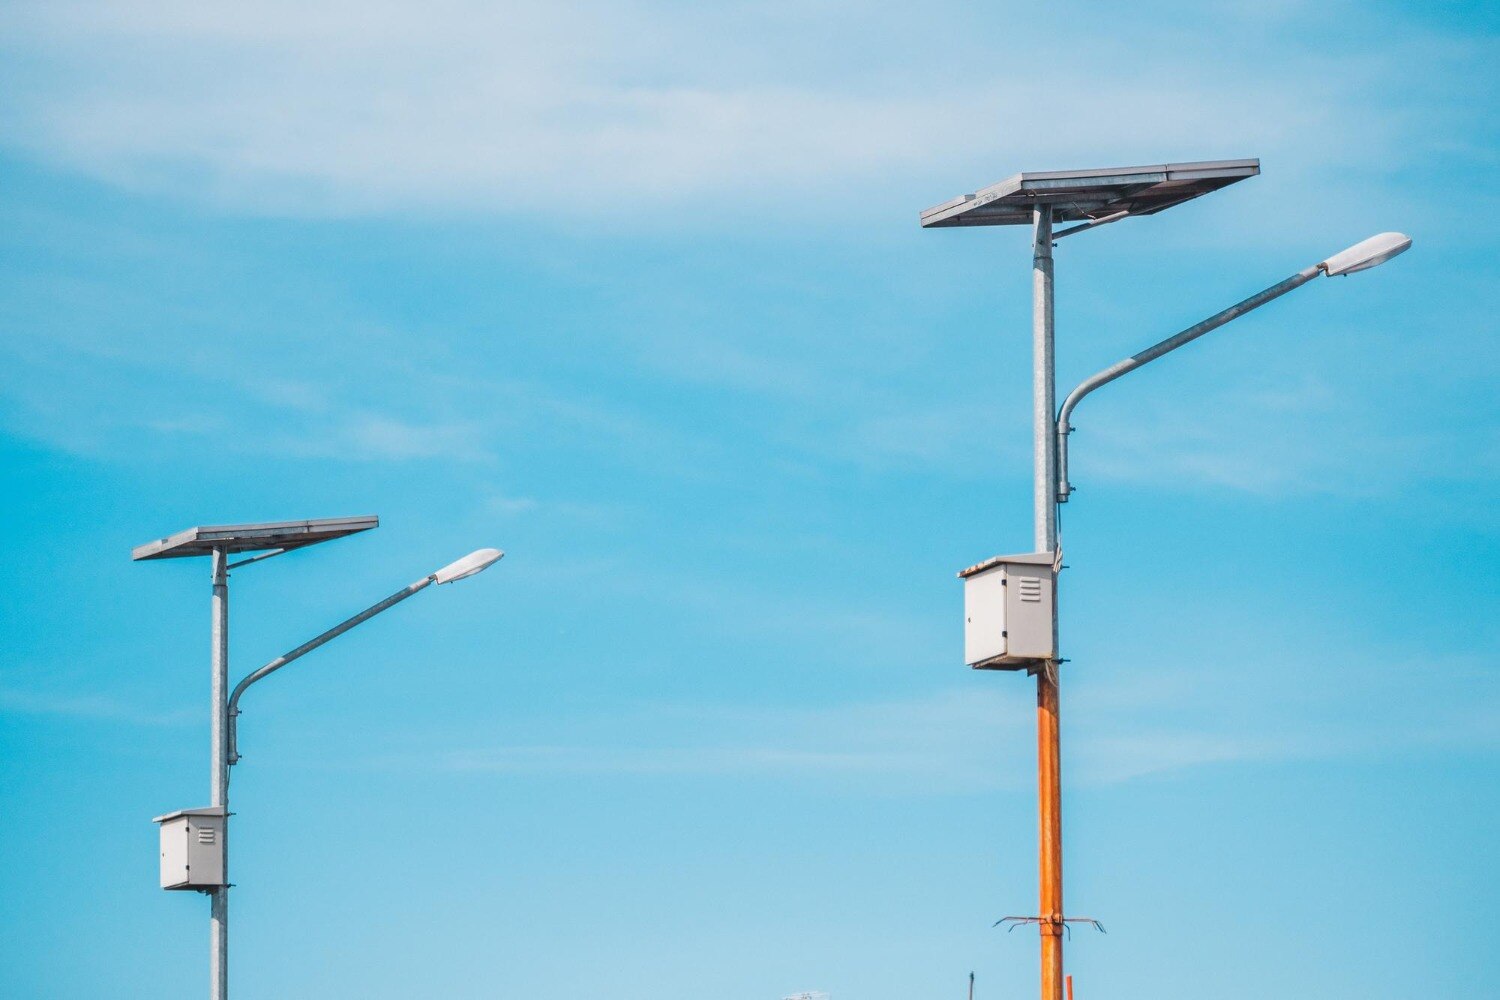
A standalone solar street light stores daytime solar energy in a battery, then uses that stored energy to run an LED fixture after sunset. By the end, you will know how the components work together, how to size the system for a site, and which specifications reveal whether it can maintain useful light through poor weather and battery aging.
Key takeaways
- Size the battery for overnight load plus several low-sun days.
- Check winter shade and panel orientation before choosing the pole location.
- Compare battery chemistry, usable capacity, warranty and replacement access.
- Demand a complete proposal covering lighting output, autonomy and controls.
How the light operates through a complete 24-hour cycle
A standalone solar street light illuminates after sunset because it uses electricity stored during the day, not power flowing directly from the photovoltaic panel. The panel mounted above the pole produces DC electricity, while the charge controller regulates that input and sends safe charging current to the battery.
- Daylight: The photovoltaic panel converts sunlight into electricity. The charge controller fills the battery while protecting it from overcharging.
- Dusk: An automatic light sensor or programmed timer detects falling daylight and switches on the LED luminaire.
- Overnight: The battery supplies DC power to the LED luminaire through the lighting controller. The pole supports the panel and fixture at the designed height, directing light onto the road.
- Dawn: The controller switches the LED luminaire off when daylight returns, then resumes charging for the next night.
The system’s runtime depends on stored energy, not simply on the LED’s rated wattage. A fixture running at full output all night drains the battery faster than one using programmed dimming during low-traffic hours. Dimming saves energy only if the remaining road illuminance and uniformity still meet the project target.
Cloud, dust, shade, or a dirty panel can leave the battery short of energy before morning. A battery with insufficient capacity then causes early switch-off, even though the LED luminaire itself still works.
How to size the panel, battery, pole and light for the site
A solar street light is adequately sized when its photometric layout delivers the required lighting level across the whole road or path and its battery survives the planned night schedule.
1. Measure the road width or path width, available pole locations, junctions, curves, slopes, and obstructions. Record pole spacing and the mounting height possible at each location; these dimensions determine the beam spread and dark areas.
2. Set the lighting target before choosing a fixture. Specify illuminance in lux, uniformity between the brightest and darkest points, acceptable glare, and any limit on light spilling into homes. LED lumens alone cannot prove coverage: a high-output lamp at excessive pole spacing can create bright pools and unsafe gaps.
3. Choose the LED wattage and optical distribution from a photometric layout. Check calculated lux at the road edges, centre, crossings, and path entrances at the proposed pole height. Include adaptive dimming only after confirming the reduced output still meets the required lighting level during low-traffic hours.
4. Calculate nightly energy from the LED wattage, operating hours, dimming schedule, controller losses, and battery efficiency. Multiply that figure by the required autonomy in nights, then add the reserve specified for ageing and low-temperature performance to determine battery capacity in watt-hours.
5. Size panel wattage from the lowest-production month, not annual sunshine. Account for tilt, orientation, dirt, shade, and charging losses; PVWatts can provide a monthly production estimate. Confirm the panel fits above the pole and can recharge the battery after the longest planned night.
How weather, shade and control settings change nighttime performance
Monsoon clouds reduce the daylight energy stored for the night, so a light that performs well in clear weather can enter the evening with a partly charged battery. Size the system against the lowest-production months, not annual average sunlight; monthly estimates from PVWatts can reveal whether several cloudy days will prevent full recharge.
Check the panel location for these charging losses:
- Tree shade from branches, buildings, signs, or the pole, especially between late morning and mid-afternoon
- Dust on the module, which blocks sunlight until cleaning removes the film
- Poor panel orientation or tilt, which directs sunlight away from the photovoltaic cells
- Seasonal shadows, found by checking the sun path rather than visiting the site once
Controls decide how quickly that stored energy is spent. Full brightness for the entire night demands more battery capacity than a programmed schedule that dims during low-traffic hours. Set the dimming period, output level, start time, and morning switch-off time, then verify the resulting illuminance and uniformity on the road.
A motion sensor can raise output when people or vehicles approach, but incorrect detection zones create needless battery drain. Include controller and conversion losses when comparing the energy collected during the day with the LED’s nighttime demand.
How to compare batteries and plan for reliable operation
Compare batteries by usable capacity over the required autonomy period, not by nominal amp-hours alone. The calculation must include nightly energy demand, controller and conversion losses, allowable depth of discharge, battery aging, and low-temperature derating.
A 40 W luminaire running 12 hours uses about 480 Wh before those losses; one night of nominal battery watt-hours does not prove reliable operation.
| Battery chemistry | Main advantage | Checks before approval |
|---|---|---|
| Lead-acid | Lower initial cost; familiar servicing | Request capacity at the site’s operating temperature, rated cycle life, ventilation requirements, and permitted depth of discharge |
| LiFePO4 lithium-ion | Higher usable capacity and cycle life at a lower routine depth of discharge | Confirm the battery-management system, low-temperature charge cutoff, heater or thermal protection, and manufacturer’s end-of-life capacity |
Ask for these design details:
- The autonomy target in consecutive nights, plus the battery’s usable capacity after aging rather than its room-temperature nameplate rating.
- The operating temperature range. Lead-acid loses usable capacity in cold conditions; lithium-ion charging must stop below freezing unless thermal protection is provided.
- Charge-controller protections for overcharge, over-discharge, short circuit, reverse polarity, and excessive temperature.
- A sealed, correctly rated enclosure with secure terminals, strain relief, drainage, and intact cable glands.
Schedule inspections after monsoon periods and at least annually: clean and check the panel, inspect seals and fasteners, review battery voltage or controller diagnostics, and verify dusk-to-dawn operation. A failing battery, shaded module, water ingress, or incorrect dimming programme can exhaust the energy balance long before the LED fails.
How to compare a complete solar lighting proposal before installation
Ask for one comparable proposal, not three product brochures. Each must state the road’s target illuminance, pole spacing, mounting height, delivered lumens, beam distribution, glare control and light-trespass limits. A high-lumen fitting can still leave dark gaps if its optics or spacing is wrong.
| Option | What to verify | When it fits |
|---|---|---|
| Standalone solar light | Panel wattage, battery usable capacity, autonomy in consecutive low-sun nights, controller losses, dusk-to-dawn operation, and morning shut-off | Remote locations without dependable grid supply |
| Grid-connected fitting with added panel | Grid consumption, changeover behaviour during outages, panel contribution, battery size, cable routes and protection devices | Sites with an existing reliable supply and limited solar-storage space |
| Hybrid design | Which source runs the lamp, battery charging priority, automatic changeover time, outage runtime and controls for grid failure | Sites needing predictable light plus reduced grid dependence |
Require a lighting calculation and a night-time demonstration at the proposed spacing. Confirm whether a motion sensor dims the lamp or switches it on, the minimum output during inactivity, sensor blind spots and false-trigger settings; safety routes often need a predictable baseline rather than abrupt darkness.
Before signing, obtain the battery’s allowable depth of discharge, replacement specification, warranty exclusions, panel shade assumptions, structural drawings and maintenance schedule. Ms365 Solar Solution can help compare a standalone, on-grid or hybrid design against these figures rather than comparing fixture wattage alone.
Related product
 | Led Solar Street Light Led Solar Street Light in Nagpur View product → |
Frequently asked questions
How does a standalone solar street light operate through 24 hours?
The photovoltaic panel generates electricity during daylight, the charge controller regulates charging, and the battery powers the light after sunset.
How do you size a solar street light for a site?
Match the light’s wattage and operating hours with panel output, battery capacity, pole height, mounting position and local sunlight conditions.
How do weather, shade and control settings affect nighttime performance?
Cloud, rain, dust, nearby shade and settings such as dimming or motion control change how much energy the system stores and uses overnight.
How should you compare batteries for solar street lighting?
Compare chemistry, usable capacity, cycle life, temperature range, protection features, warranty and how easily the battery can be replaced.
What should a complete solar street light proposal include?
Check the proposal for lighting output, panel and battery specifications, autonomy, pole details, controls, installation scope, warranty and maintenance responsibilities.